VR Cam Models: Inspiring Success Stories and Industry Insights
Virtual reality has revolutionized many industries, and the adult entertainment sector is no exception. Success…
Key Takeaways
- Success in VR cam modeling comes from controlling proximity cues, not spectacle.
- The Sensory Proximity Loop is a feedback cycle where spatial cues create presence, the core driver of viewer engagement in VR.
- Removing visual clutter, optimizing audio, and minimizing rapid motion tends to increase session length and tip frequency.
- A 4-stage system covering environmental calibration, depth-perception testing, directional audio syncing, and eye-line mastery supports more consistent output.
- Micro-movements and intentional pauses, paired with spatially specific scripts, improve viewer attention and spending behavior.
- Consistent practice and outside feedback can meaningfully refine VR cam performance over time.
VR Cam Models: Inspiring Success Stories and Industry Insights
Hook Intro, Why VR is Not "3D Video"
VR cam models who build consistent tipping sessions share one thing in common: they treat the format as a spatial medium, not just a visual upgrade. This guide draws on real performer experiences and industry observations to show how proximity cues, spatial audio, and deliberate movement reduce viewer dropoff and lead to more predictable earnings.
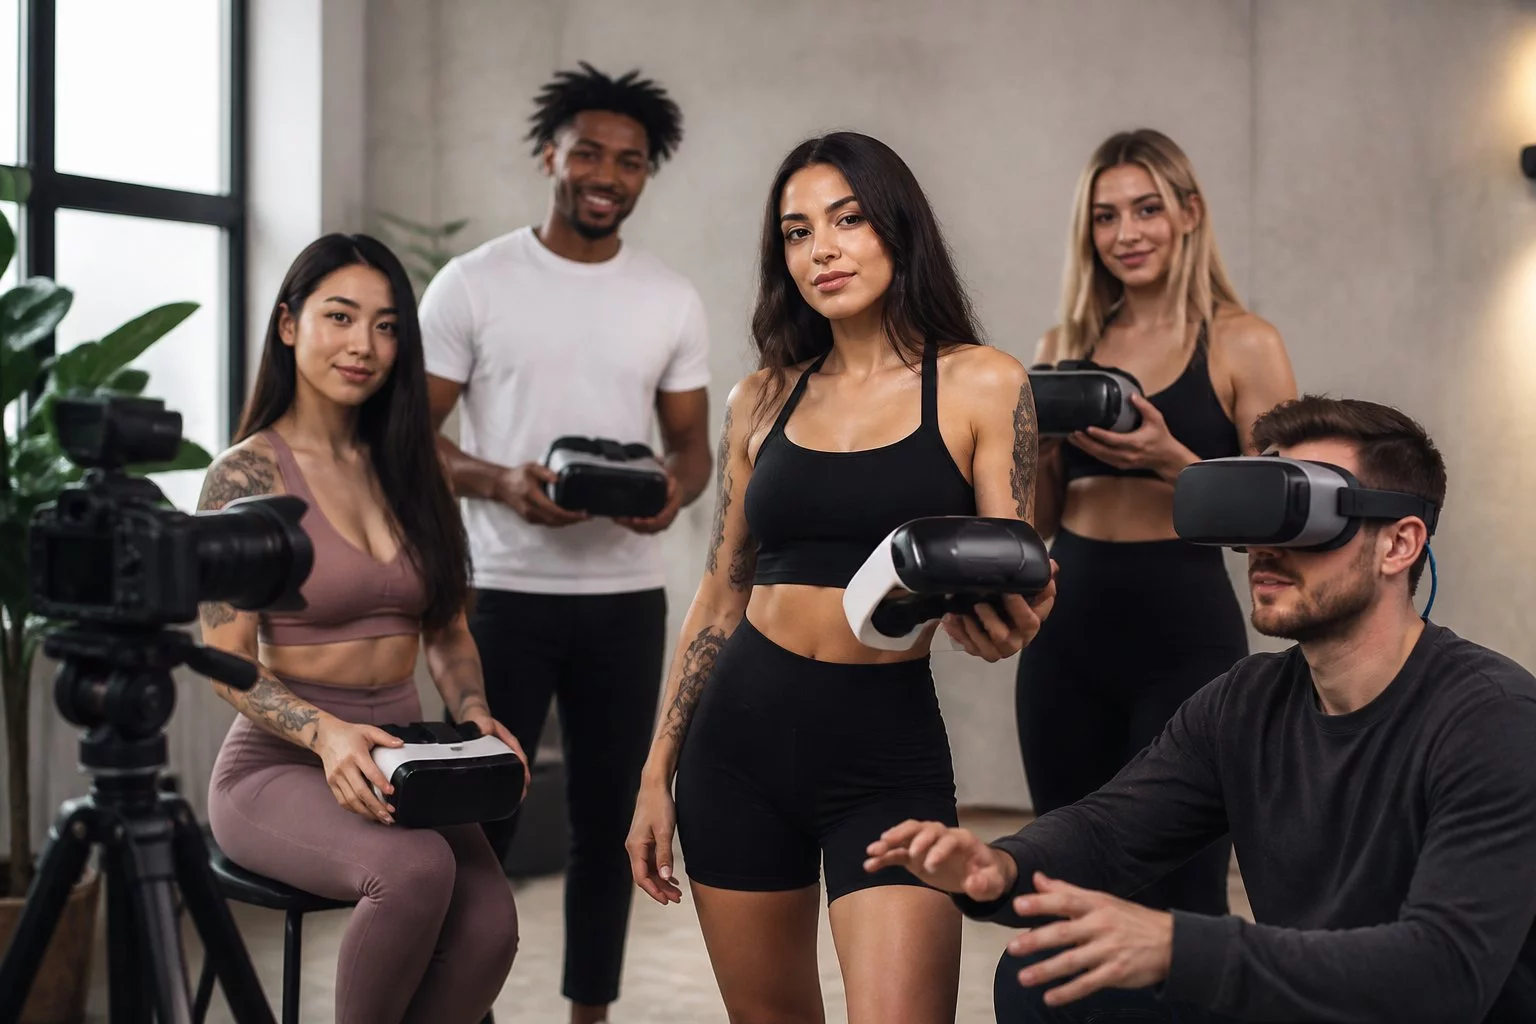
Someone whispers just off your left ear and you turn without thinking. That instinct is exactly what well-executed VR cam work can trigger.
Most performers come into the 3D space carrying every habit they built on flat-screen. Viewers notice the mismatch fast, often within the first few minutes. VR180, binaural audio, and controlled movement reward spatial awareness in ways a standard stream simply can't match. Louder or more dramatic doesn't land here. Intentional does.
What follows is a repeatable 4-stage system and ready-to-use scripts built around one goal: smarter proximity control that cuts early dropoff and keeps tips coming session after session.
Core Explanation, Psychology of Immersion and the "Sensory Proximity Loop"
The Sensory Proximity Loop is the cycle of spatial cues, position, micro-movements, directional audio, that convinces a viewer they're sharing the same room with you. It's a working term, not a clinical label, but it maps directly to what viewers describe when something "felt real."
What breaks it is usually small. A misaligned eye-line. A repositioning move that's too fast or too wide. The viewer's brain is constantly checking whether the environment makes physical sense, and any mismatch pulls them out fast.
Keep your eyes level with the camera lens. Use a slight head turn when you shift position. That's often enough to hold believable depth without breaking the spatial logic, no elaborate gear required.
Creators who obsess over lighting rigs and elaborate backdrops often underperform compared to those who simply nail the body-to-lens relationship. A lot of expensive setups still look flat in-headset, because hardware can't compensate for a broken eye-line.
Try this: sit roughly a meter from the lens, breathe toward the left mic, and hold that position for a few slow breaths. It sounds trivial. Run it across your next few sessions and watch whether average session length shifts. Some performers notice a real difference after locking in this habit, but treat it as a starting point, not a guarantee.
One performer spent her first two weeks adjusting her rig obsessively without touching her eye-line at all. When she finally fixed the lens relationship, her average session length climbed. She described the previous setup as "technically correct but somehow empty", which captures the problem better than most technical explanations do.
Success Stories, VR Cam Model Profiles and Tactical Takeaways
Below are anonymized performer examples presented as illustrative, anecdotal case studies. Outcomes will vary.
The 180° Convert
This performer had spent over a year on a VR-enabled platform working in 360° capture. They had a loyal audience, but viewers were dropping off past the ten-minute mark, average session length sat around 8 minutes. After switching to VR180 framing, clearing visual clutter from behind the capture arc, and repositioning to roughly 0.9 m from the camera at a slight off-center angle, the whole feel of the stream changed.
Over six weeks, average session length climbed from around 8 to around 19 minutes (anecdotal, single-performer report). Tipping rhythm became steadier, not an overnight spike, but a reliable improvement tied directly to less viewer disorientation. "I kept thinking more coverage meant more immersion," the performer noted. "Cutting the view in half actually made it feel closer."
The practical takeaway: stay 0.8–1.2 m from the lens, angle slightly off-center, and strip the background. Less visual noise means viewers have nowhere to look except at you.
The Audio-First Performer
This creator came from an audio production background and treated VR sessions as a sound design problem before a visual one. Working on a platform that supported spatial audio, they invested in binaural microphones and spent the first two weeks learning to pan whispers intentionally, moving sound across the listener's left–right field in sync with head turns.
Most of those early sessions were spent figuring out mic placement, not performing. That's normal.
Sessions that previously averaged 11 minutes began running past 25 minutes, the performer reported (anecdotal, single-performer report). Returning viewers described the audio as feeling "like being in the room." Tip frequency climbed with session length, more time in the stream means more chances to convert. Results depend on platform support for binaural audio and the listener's hardware.
Place stereo mics at ear height, roughly 18–22 cm apart, and practice whispering on alternating sides while keeping head turns controlled. Better audio buys time. Time converts.
The Motion Minimalist
This performer was known for high-energy sessions, a style that worked well in 2D but caused consistent early dropout in VR, usually within the first five minutes. Motion sickness complaints showed up in chat repeatedly. Recognizing the pattern, they restructured sessions around stillness, punctuated by staged micro-interactions: a slow reach, a deliberate turn, a held pause.
Slowing down is harder than it sounds. A few weeks in, most performers in this situation feel like they're not doing enough. That feeling is usually wrong.
Within four weeks, early dropout dropped significantly (anecdotal, single-performer report). Viewers who had previously left within five minutes began staying for full sessions. "The tips came faster when I stopped moving so much. People want to settle in, not chase you around."
Keep torso movement smooth and limit forward-and-back travel to a short range per interaction. Mark floor positions and rehearse moves so every gesture feels deliberate. That rehearsed quality reads very differently in-headset than it does on a flat screen, actions that seem understated on a monitor often land as natural and grounded in VR.
Some creators shorten the learning curve with a brief mentor review. An external eye catches movement patterns that are nearly impossible to spot from inside the headset, and across VR cam model success stories, outside feedback comes up as a turning point more often than any single equipment upgrade.
Here is a short transcript extract from a real session demo illustrating timing and pause use:
"I'm right here, slow lean in two counts, hold… now listen on your right." [Brief pause.] Then a soft whisper to the left for a few breaths.
Across all three profiles, the same patterns repeat: tighter VR180 framing, controlled micro-movements, directional audio. Those three adjustments together produce longer sessions and steadier tips. Restraint, not spectacle.
The 4‑Stage System (Micro Blueprint)
The four stages run in sequence: 1) Environmental calibration, fix the performer zone; 2) Depth-perception testing, record and review your approaches; 3) Directional audio syncing, align whispers with left/right panning; 4) Eye-line mastery, small, consistent gaze shifts that read naturally in-headset.
Stage 1, Environmental calibration: Clear a 180° capture arc and mark a fixed performer zone roughly 0.8–1.5 m from the lens. Place a non-reflective backdrop 1–2 m behind you and tape a floor mark for consistent depth across sessions.
Stage 2, Depth-perception testing: Run a two-point check. Sit at your mark, face the lens, and make small deliberate head turns to the left while keeping your shoulder line steady, confirm the left ear stays inside the capture cone. Then step forward and back roughly 15 cm while recording to see how approach speed reads in-headset. Fish-eye stretch at the frame edges usually means the camera is too close; move it back slightly or switch to a less wide lens.
Stage 3, Directional audio syncing: Mount binaural or stereo mics at ear height and set panning so whispers move across the listener's left–right field. A metronome at a roughly 4-second cadence helps when rehearsing whisper timing. Timing errors are more common than most VR cam performers expect, and much harder to catch without listening back in a headset.
Stage 4, Eye-line mastery: Keep eye shifts small, around 8–12 degrees, and stay within a comfortable front-facing arc. For intimacy, glance slightly below the lens, then sweep up to meet it just before speaking. That upward beat lands consistently well.
One performer spent nearly two full sessions re-taping her floor mark because framing kept drifting. Tedious, but worth it. Once position is locked, everything else becomes easier to isolate and adjust.
Recommended Gear for VR Cam Models and Sessions
- 3Dio Free Space binaural micdelivers true left/right cues for whispers and spatial audio work. You'll need an audio interface, and you should confirm your platform accepts stereo or binaural input before purchasing. Some don't, which is an expensive surprise.
- Sony A7 IVapprox. $2, 500 body-only (prices as of April 2, 2026), paired with a 16–35mm wide-angle lens. Well suited for monoscopic 180-style framing at 0.8–1.5 m with consistent image quality and manageable distortion. True stereoscopic VR180 requires a dual-lens solution the A7 IV alone doesn't provide, confirm what your platform actually ingests before committing.
- Sony ZV-E10under $600 body-only (prices as of April 2, 2026), solid for monoscopic 180-style framing and genuinely beginner-friendly. Leaves real budget room for audio. Platform support for binaural audio is inconsistent, so verify before spending up.
- SmallRig or stable tripod with quick-release platesecures lens height and keeps framing repeatable session to session.
- LED key light with dimmer (bi-color preferred)keep it at eye level and use soft shadows to tune perceived depth.
The gear list looks cleaner on paper than it performs in practice. Binaural mics need proper gain staging, get it wrong and you introduce noise that headset listeners catch immediately. Most setups underestimate how audible low-level hiss becomes at close listening distances.
Real Scripts for VR Cam Models, Spatially Specific Lines
Welcoming script (seated center, roughly 1 m from lens; voice slightly left; pause 2–3 sec after "Stay there"): "Hey, you made it, move a little to your left in the view so I can find you. Good, now stay there. I'm right over here, just for you." [hold 2–3 sec] The orientation prompt gets the viewer to reposition and commit attention. That small act of compliance tends to hold them longer.
Headset-adjust script (standing, camera at eye level; pause 3 sec before the whisper cue): "If things feel off, try tilting your headset down a few degrees and nudging the volume up, lean your head slightly toward my left and let me know when the whisper sounds closer." [pause 3 sec] Guided adjustments cut early dropoff. A lot of creators skip them entirely, which is a mistake.
Tip-triggering micro-scene (kneeling roughly 1.2 m from lens; reach and pause; hold silence 3–4 sec after the final line): "Watch my hand, reach forward slowly, stop, and imagine your name on my palm." [hold 3–4 sec] Those pauses are where tips most often land.
Run one short recorded session in a headset and ask a peer to give you one specific note on eye-line or motion. A single targeted piece of feedback beats a vague general impression every time.
Beginner vs. Advanced Technical Focus
Start by locking in lighting stability and 180° framing. Place your key light roughly 45° off-axis at eye level, keep the fill light low to preserve depth, and tape your floor position so framing stays consistent every session. Get those three things automatic before anything else.
Once you have several weeks of consistent sessions behind you, consider adding binaural triggers and, if it fits your content, haptic links. Space microphones at roughly 18–22 cm ear width and test haptic timing carefully. A short delay after the audio cue reinforces felt proximity in a way that lands harder than most performers expect.
Most creators try advanced audio too early. Haptic links are niche and latency-prone. Layer them in only after presence, framing, and core audio are genuinely stable, not just passable.
Common Mistakes and How to Fix Them
Moving too fast is the most reliable way to empty a room. Limit forward/back travel to 10–20 cm and pause briefly after any reposition. A metronome at 60 bpm helps internalize that pacing in a way that simply "trying to slow down" rarely does.
Set a floor mark roughly 0.8–1.5 m from the lens and keep motion inside a 20 cm range in either direction during a scene. It sounds restrictive. In practice, viewers rarely notice the constraint, but they absolutely notice when you break it.
Dead zones behind the lens get overlooked more than almost any other setup detail. Clear at least 1.5 m behind your performer zone and keep hands inside the 180° front arc. If you need to turn, pivot on your toes rather than shifting your torso. Inside a headset, a torso shift reads as a jarring spatial jump.
Flat lighting kills depth fast. Add a rim light roughly 30° behind you at shoulder height and angle the key light to create soft shadows. Record a short test clip and adjust in small increments until the depth reads correctly on playback. Even expensive rigs look spatially flat when this step gets skipped, a frustrating thing to discover after the fact.
One performer spent her first two sessions entirely rearranging lights and never actually streamed. Not because she was chasing perfection, but because each test clip revealed something new. That feedback loop is genuinely useful, it just doesn't feel like progress in the moment. Sharing clips with a trusted peer, or posting a specific question in a VR creator community, moves you through it faster than reviewing footage alone.
Quick Implementation Checks
Room audit: from your taped mark, do a 45-degree sweep. If anything inside the 180° arc steals focus, move it or blur it.
Profile update: edit your bio to include your gear and session style, something like "180° framing, spatial audio, guided headset adjustments." It's a small credibility signal, but it sets viewer expectations before the session even starts.
Run one short recorded session in a headset and ask one peer to watch it and give you one specific note on eye-line or motion. A single concrete observation from someone watching in VR is worth more than a dozen solo reviews on a flat monitor.
Expectation Setting: Realistic Results and Common Failure Modes
Expect incremental gains, not overnight transformation. Session length and tip consistency improve as you stabilize perceived presence, but that takes weeks of disciplined iteration across framing, audio, and micro-interactions. Progress tends to be uneven: two steps forward, one frustrating plateau. Visible improvement is typical within 2–6 weeks of consistent work. Treat any specific figures in this guide as anecdotal, single-performer reports rather than universal benchmarks.
This article, covering the kind of repeatable tactics and real performer insights central to VR cam models, is designed as a starting framework. Verify every outcome against your own platform data before drawing conclusions.
Platform stereo and binaural audio support still varies considerably across providers. Confirm compatibility before investing in binaural microphones. Session-length improvements from VR optimizations tend to be incremental; treat any figures you encounter, including those here, as directional until you measure them yourself.
The three most common failure modes are treating VR like a 2D performance, relying on rapid motion or loud audio, and skipping guided orientation for viewers. All three are avoidable. All three still happen constantly.
Early dropout clustering in the first five minutes almost always points to motion or lighting problems, not content. Fix those before buying anything new.
If viewers describe you as "there but far," directional audio and mic placement should be the next priority, not a hardware upgrade. And if your platform lacks stereo support entirely, focus on monoscopic 180 composition and deliberate micro-movements instead of chasing equipment that won't register.
When incremental tweaks stop producing results, a peer review or targeted technical audit is usually the fastest diagnostic. An outside eye consistently catches things you've stopped noticing.
Frequently Asked Questions
What is the key difference between VR and 3D video for cam models?
VR cam modeling is not simply a wider camera angle. It's about managing proximity cues to create a convincing sense of presence. Unlike 3D video, success in VR sessions depends on controlling your position, movements, and directional sound, not on delivering visual spectacle. Performers who carry 2D habits into VR typically see higher dropout rates until they adjust.
How does the Sensory Proximity Loop contribute to viewer engagement?
It's a feedback cycle where spatial cues, position, micro-movement, and directional audio, convince the viewer's brain that the performer is sharing the same physical space. Maintaining that loop through precise eye-line and timing keeps viewers engaged longer and tends to encourage tipping. Break even one element briefly and the stream just feels off.
What are the most common mistakes VR cam performers make?
The most frequent issues are carrying 2D performance habits into VR, moving too quickly and triggering motion discomfort, ignoring dead zones behind the lens, and using flat lighting that strips out depth. Each one hurts the sense of presence, and once that goes, viewers leave. These are the patterns that experienced performers have consistently identified and corrected.
What are the four stages of the system for consistent VR cam sessions?
The four stages are: environmental calibration (clearing the capture arc and marking the performer zone), depth-perception testing (checking perceived approach speed on playback), directional audio syncing (matching head turns with audio panning), and eye-line mastery (rehearsing small, deliberate eye shifts for natural attention cues). Working through all four before going live is what separates consistent earners from inconsistent ones.
What gear is recommended for VR cam sessions?
A 3Dio Free Space binaural microphone paired with a compatible audio interface is the most practical starting point for spatial sound. For video, a Sony A7 IV or ZV-E10 with a 16–35mm wide-angle lens handles monoscopic VR180-style framing reliably. Add a stable tripod and an LED key light with a dimmer to control depth. True stereoscopic VR180 requires a dedicated dual-lens camera setup. Check platform support for stereo and spatial audio before purchasing, compatibility varies, and it's worth confirming before you invest.
Ready to experience live VR cams?
Enter Live VRStrip.Cam Free